![]() Editing existing e-mail accounts:
Editing existing e-mail accounts:
To edit an account, follow these steps:
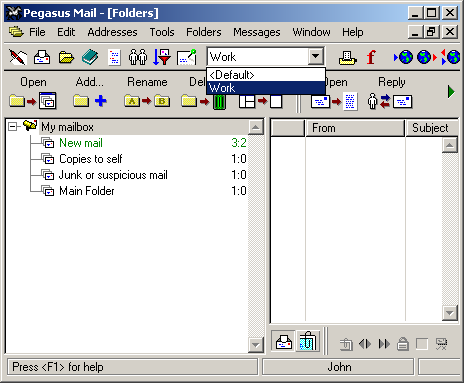
First, you'll want to select the account you'd like to edit.
From the Accounts drop-down menu, select the account you'd like to edit.
On the Toolbar, click Tools and select Internet options from the menu.

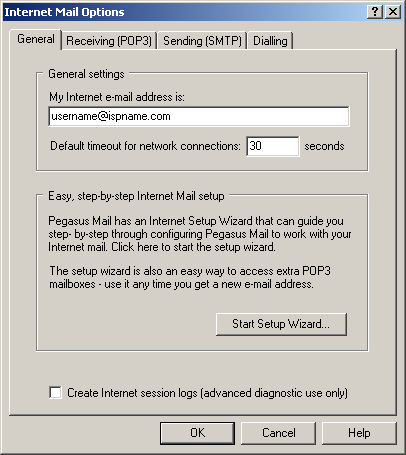
The Internet Mail Options window appears.
Select the General tab.
My Internet e-mail address is = This should be your e-mail account. If you've misspelled it, you can change it here.
Note: Clicking 'Start Setup Wizard' will not create another e-mail account for you. It will overwrite your existing configuration. If you want to configure more than one e-mail account, you'll need to view the 'Identities' tutorial. Click here to view it.
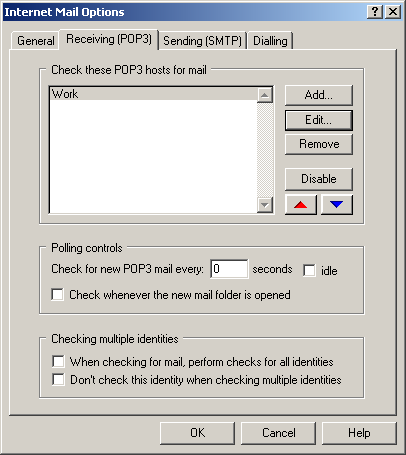
Select the Receiving (POP3) tab.
Check these POP3 hosts for mail:
Highlight the desired account and click the Edit button.
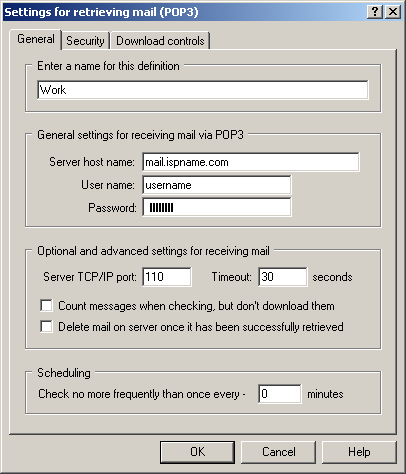
The Settings for retrieving mail (POP3) screen appears.
Enter a name for this definition = the account should have a distinct name, i.e., Work, Home, John Boy, etc.
General settings for retrieving mail via POP3:
Server host name =
The Incoming (POP3) mail server usually follows this format: mail.ispname.com (or .net). Replace the "ispname.com (or .net)" with your ISP's name.User name
=
Enter your e-mail username (everything before the @).
Password =
Enter the password to your e-mail account.
Important: Passwords are case-sensitive. Ensure your Caps Lock is NOT enabled.
Click the OK button to save the settings and to close the window.
Select the Sending (SMTP) tab.
Sending mail using these SMTP hosts:
Highlight the desired account and click the Edit button.
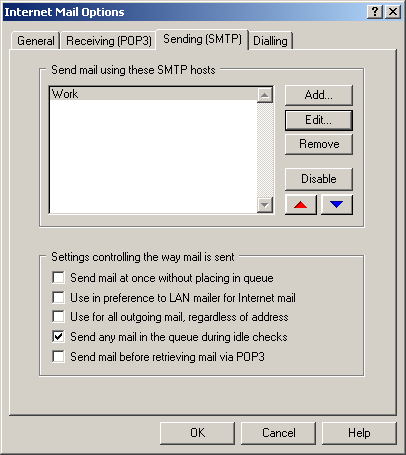
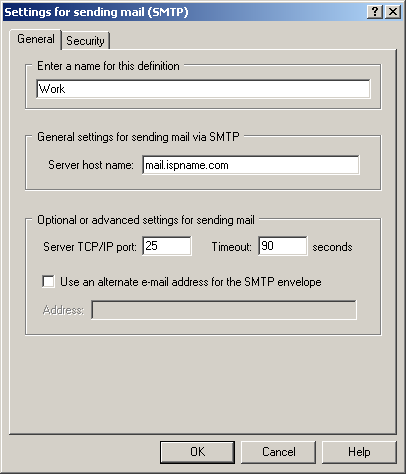
The Settings for sending mail (SMTP) screen appears.
Enter a name for this definition = This field should contain the same name as the one you gave the incoming, i.e., Work, Home, John Boy, etc.
General settings for sending mail via SMTP:
Server host name = The Outgoing (SMTP) mail server usually follows this format: mail.ispname.com (or .net). Replace the "ispname.com (or .net)" with your ISP's name.
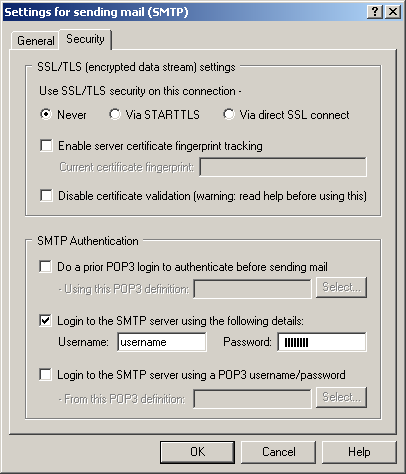
Select the Security tab.
You must enable SMTP authentication to send e-mail. Without this, you will not be able to send. SMTP authentication helps prevent members of our ISP and others from spamming you and others.
To enable SMTP Authentication, do the following:
Toward the bottom of the window you'll see a section labeled SMTP Authentication.
SMTP Authentication:
Select the box labeled Login to the SMTP server using the following details.
Username
=
Enter your e-mail username (everything before the @).
Password = Enter the password to your e-mail
address.
Important: Passwords are case-sensitive. Ensure your Caps Lock is NOT enabled.
You're done.
Click the OK button when finished and close all open windows.
Links: Return to top