 Creating new e-mail
accounts in Outlook 2000:
Creating new e-mail
accounts in Outlook 2000:
Creating new e-mail
accounts in Outlook 2000:
This tutorial covers how to create a new or additional e-mail account in Outlook. Just follow the steps below:
Note: if you're opening Outlook 2000 for the first time, you will not see the window below. You will see the Internet Connection Wizard. Click here to jump to that screenshot.
On the Toolbar, click Tools and select Accounts from the menu.
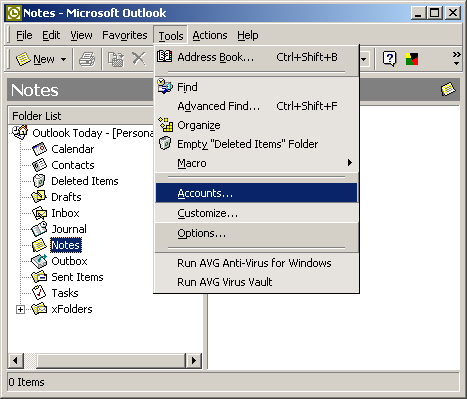
The Internet Accounts window opens.
Toward the top, right corner, click Add and select Mail from the menu.
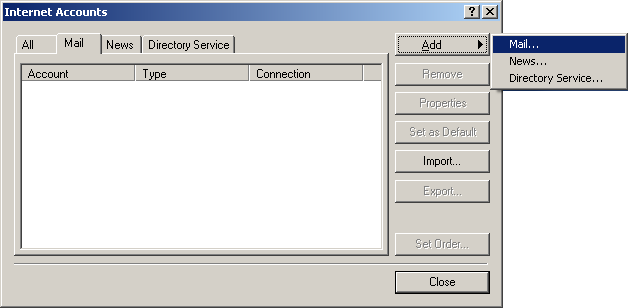
The Internet Connection Wizard launches.
Display name = Enter your name.
Click Next to continue.

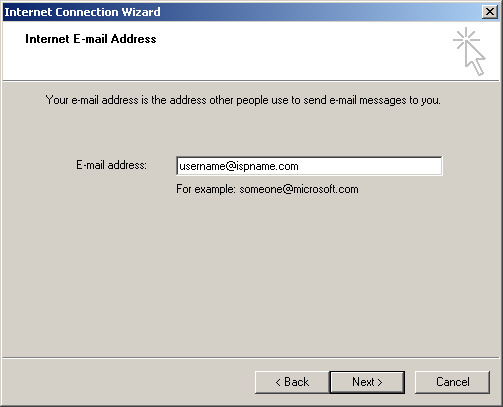
E-mail address = Enter your e-mail address.
Click Next to continue.
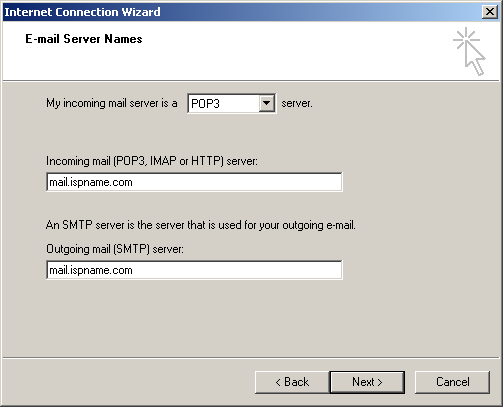
My Incoming mail server is a ? server = This should be set to POP3.
Incoming mail (POP3, IMAP and HTTP) server = The Incoming (POP3) mail server usually follows this format: mail.ispname.com (or .net). Replace the "ispname.com (or .net)" with your ISP's name.
Outgoing mail (SMTP) server = The Outgoing (SMTP) mail server usually follows this format: mail.ispname.com (or .net). Replace the "ispname.com (or .net)" with your ISP's name.
Click Next to continue.
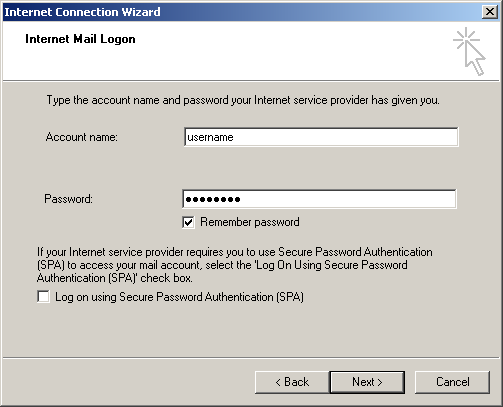
Account name
=
Enter your e-mail username (everything before the @).
Password = Enter the password to your e-mail account.
Important: Passwords are case-sensitive. Ensure your Caps Lock is disabled.
Select Remember password.
Important: Do NOT select Log on using 'Secure Password Authentication'.
Click Next to continue.
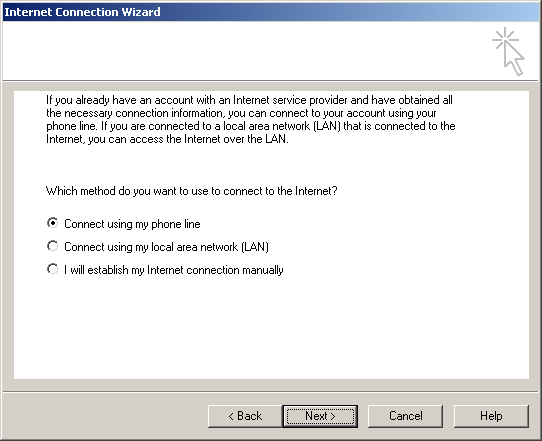
Which method do you want to use to connect to the Internet? = Select Connect using my phone line.
Click Next to continue.
You should already have a connection created.
Select the option Use an existing dial-up connection and highlight the connection you'd like to use.
Note: If you do not have an existing dial-up connection, click here for screenshots.
Click Next to continue.

Click Finish to complete the wizard.
Important: You still need to enable SMTP authentication. You'll see how to do this in the following screenshots.

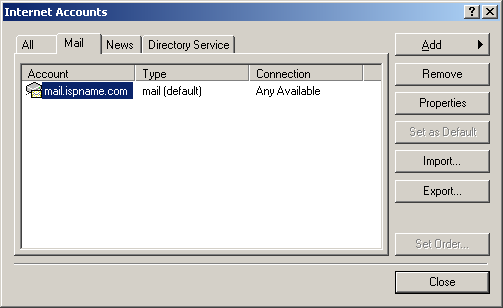
The Internet Accounts window appears.
Highlight the desired account and click Properties.
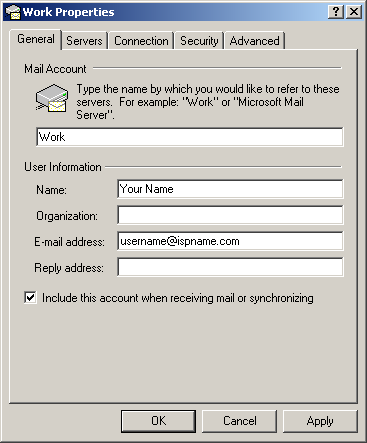
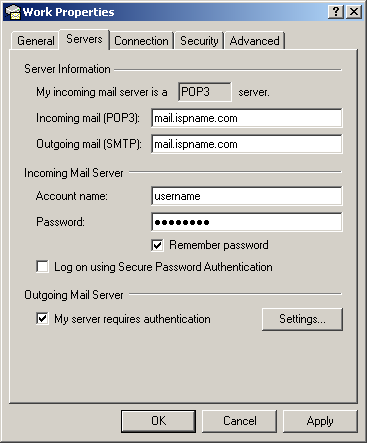
Mail Account = You can give the name of the mail account anything you'd like. In this example, I gave the account the name 'Work'.
Important: Ensure Include this account when receiving mail or synchronizing is checked.
Select the Servers tab.
SMTP authentication is required to send e-mail. Without this enabled, you cannot send e-mail. SMTP authentication helps deter would-be spammers from spamming you.
Towards the bottom, left corner there is a box: My server requires authentication. Check it.
To the right, click the Settings button.
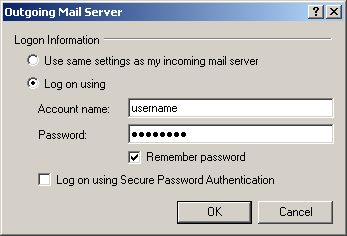
The following window appears:
Select Log on using.
Account name
=
Enter your e-mail username (everything before the @).
Password = Enter the password to your e-mail account.
Important: Passwords are case-sensitive. Ensure your Caps Lock is disabled.
Select Remember password.
Important: Do NOT select Log on using 'Secure Password Authentication'.
Links: Return to top