![]() Creating a new e-mail account:
Creating a new e-mail account:
FreeAgent is freeware; however, upon purchasing FreeAgent, you receive a license code. When you enter the code, you get Agent which gives you e-mail functionality. The following tutorial shows you how to configure a new e-mail account in Agent. Follow these steps:
On the Toolbar, click Options and select General Preferences from the menu.
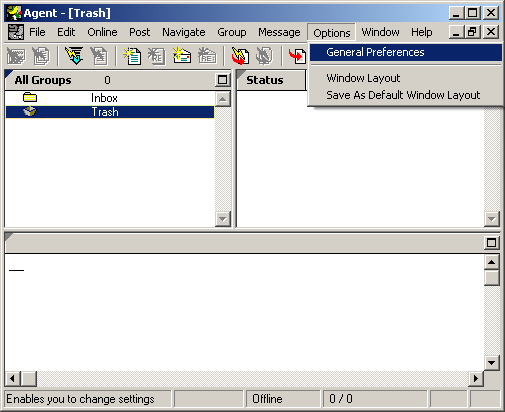
The General Preferences window opens.
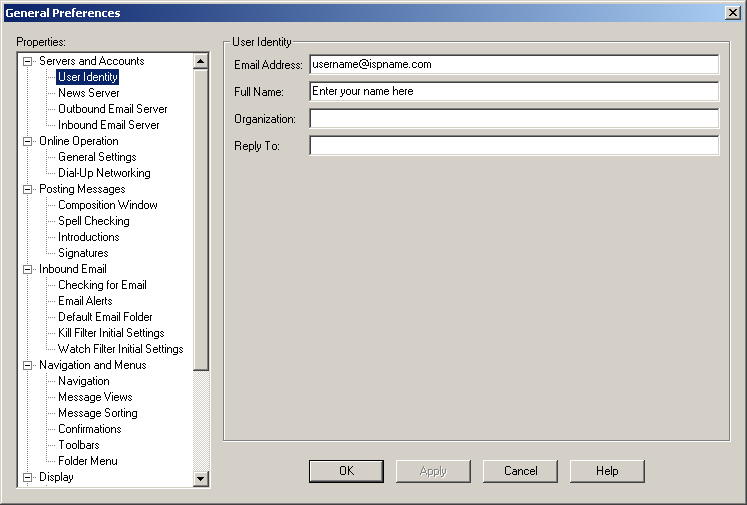
In the Properties column, expand Servers and Accounts and highlight User Identity in the sub-menu.
User Identity:
Email Address =
Enter your e-mail address ensuring you have no spaces.
Full Name =
Enter your name or a nickname.
SMTP authentication is required to send e-mail and without this enabled, you will not be able to send e-mail. SMTP authentication helps deter would-be spammers from spamming you. It is as simple as entering a username and a password.
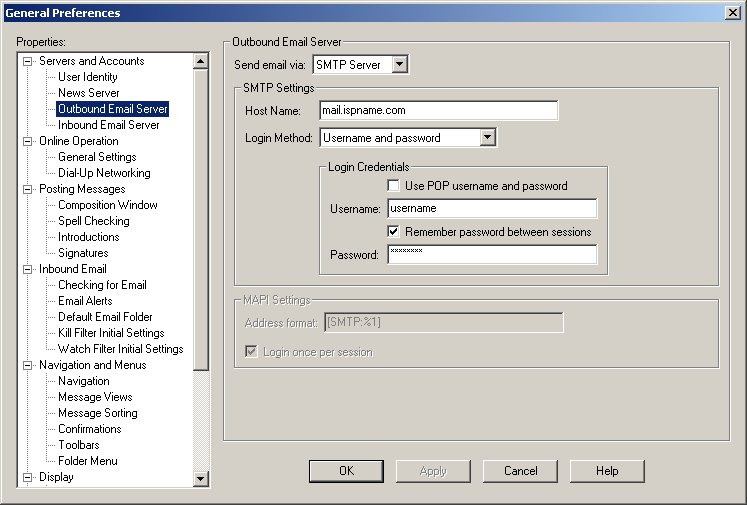
In the Properties column, expand Online Operation and highlight Outbound Email Server.
Outbound Email Server:
Send email via = Select SMTP Server from the menu.
SMTP Settings:
Host Name = The Outgoing (SMTP) mail server usually follows this format: mail.ispname.com (or .net). Replace the "ispname.com (or .net)" with your ISP's name.
Login Method = Select Username and password from the menu.Login Credentials:
Username = Enter your e-mail username (everything before the @).
Check the box Remember password between sessions.
Password = Enter your e-mail account password.
Important: Passwords are case-sensitive. Ensure the Caps Lock key is NOT enabled.
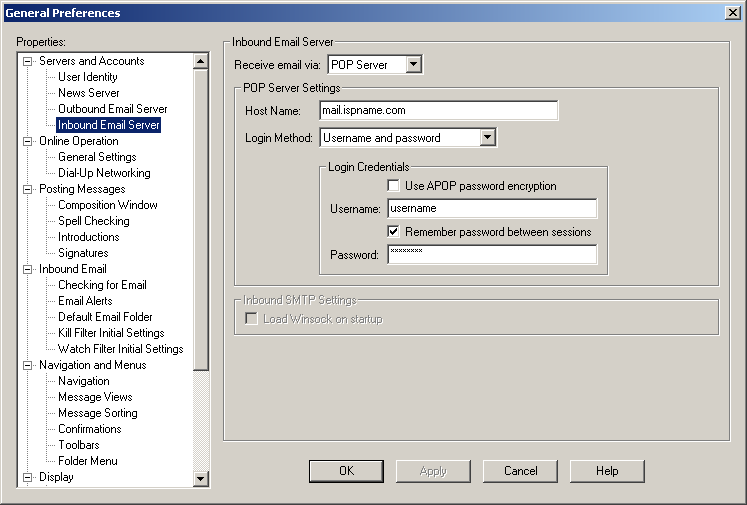
In the Properties column, expand Online Operation and highlight Inbound Email Server.
Inbound Email Server:
Receive email via = Select POP Server from the menu.
POP Server Settings:
Host Name = The Incoming (POP3) mail server usually follows this format: mail.ispname.com (or .net). Replace the "ispname.com (or .net)" with your ISP's name. Login Method = Select Username and password from the menu.
Login Credentials:
Username = Enter your e-mail username (everything before the @).
Check the box Remember password between sessions.
Password = Enter your e-mail account password.
Important: Passwords are case-sensitive. Ensure the Caps Lock key is NOT enabled.
You can enable Agent to connect to the Internet using a dial-up connection. Follow these steps:
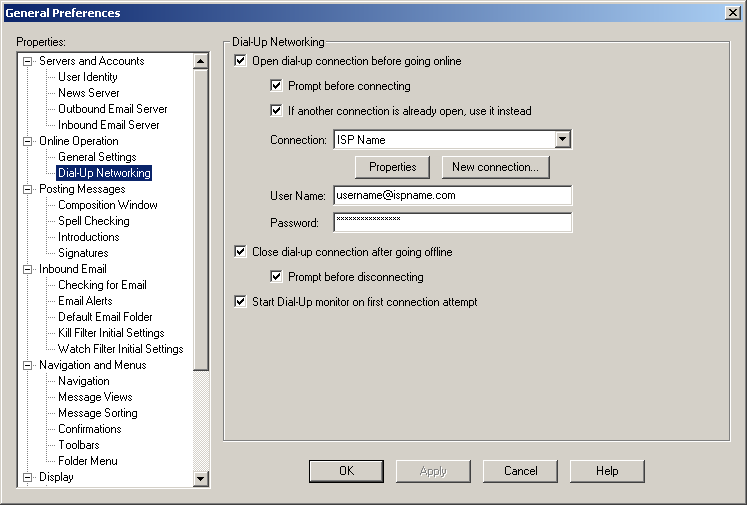
In the Properties column, expand Online Operation and highlight Dial-Up Networking.
Dial-Up Networking:
Select the option Open dial-up connection before going online.
Connection = Select the dial-up networking connection you use from the menu.
Username = Enter your dial-up username (including the domain).
Check the box Remember password between sessions.
Password = Enter your dial-up password.
Important: Passwords are case-sensitive. Ensure the Caps Lock key is NOT enabled.
Links: Return to top